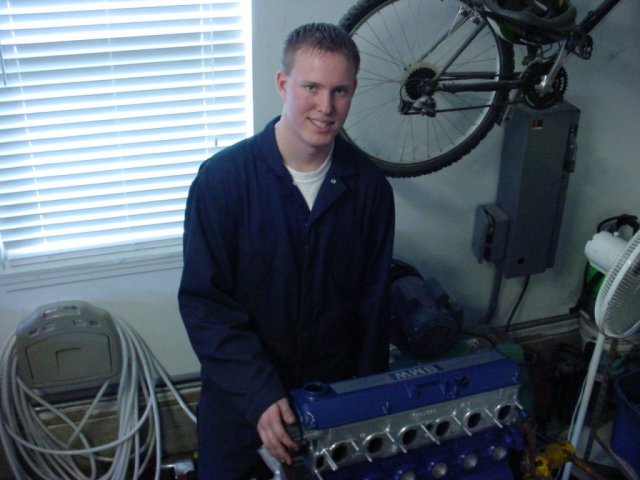
Matt Kosonen's 1989 325i Turbo Project Stage 1 Progress

Final Thoughts about the 1st stage: I am very happy with how the engine has come out so far. I am going to put 1,000 miles on the engine before I put on the turbo. At that time, I will have the
car tuned at a shop in Kirkland, WA called Carburation and Injection Connection. I am almost positive I will use the system called Unichip, and have a custom MAP sensor tuned for it. Just the
low compression 2.8l is very quick, though I have not brought it above around 4000rpm. Low-end torque is very noticeable, and I will have it dyno’d before I turbocharge it.
Stay tuned for the second stage of the project.
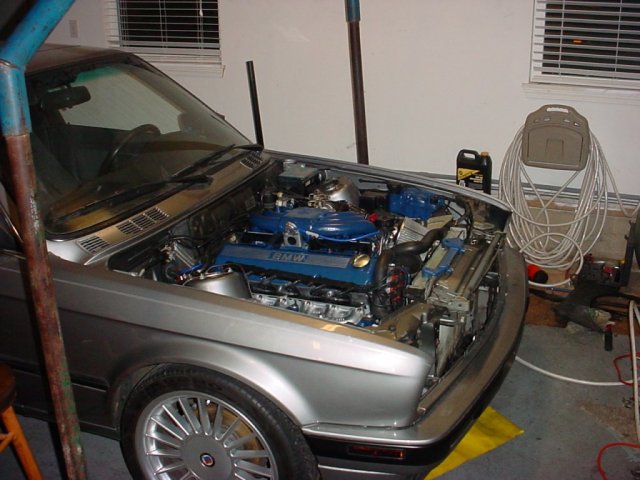
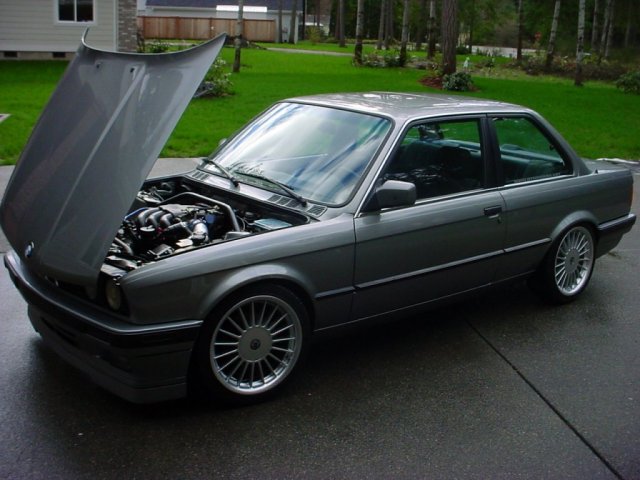
» Day 43 (Wednesday, March 18th, 2003) -
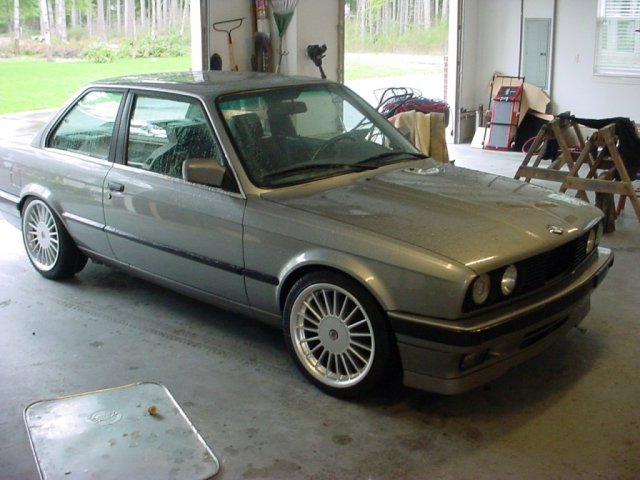
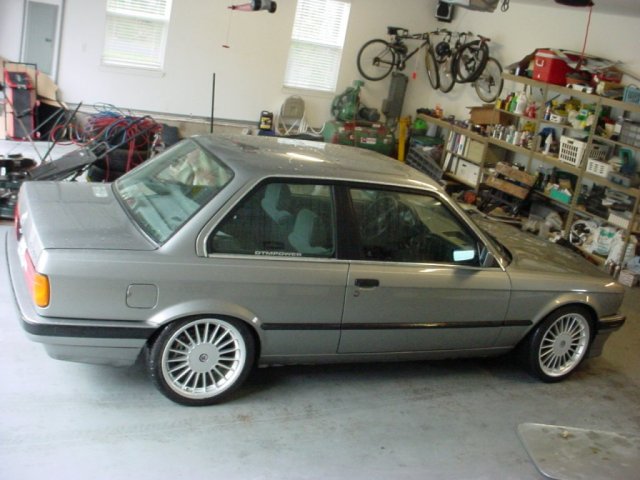
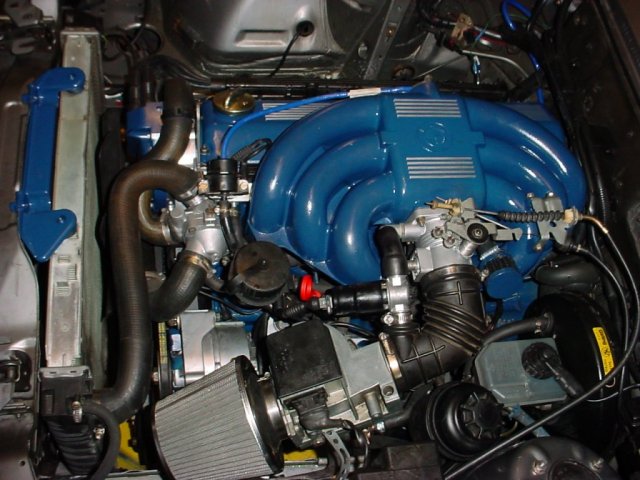
I started the car, and went for the first drive. The car sounded really good, the idle was a little rough though, but I believe it was just the ECU adapting to the changes, especially the bigger
injectors. The car is really strong at low rpm. I will now have to keep the engine under 4000rpm to seat the new piston rings.
» Day 42 -
After taking off the starter and re-installing it, I finally started the engine. When the engine turned over, it made a high pitched whining sound, like it was engaged for too long, and the
engine spun the starter. I was ok with it, because the engine started and ran well. I did not drive the car however, as it was a little late.
» Day 41 -
I attempted to start the car, but failed. For some reason, the starter would not engage with the flywheel. It made a spinning sound, like the starter gear was spinning against the flywheel gear,
but not meshing right.
» Day 40 -
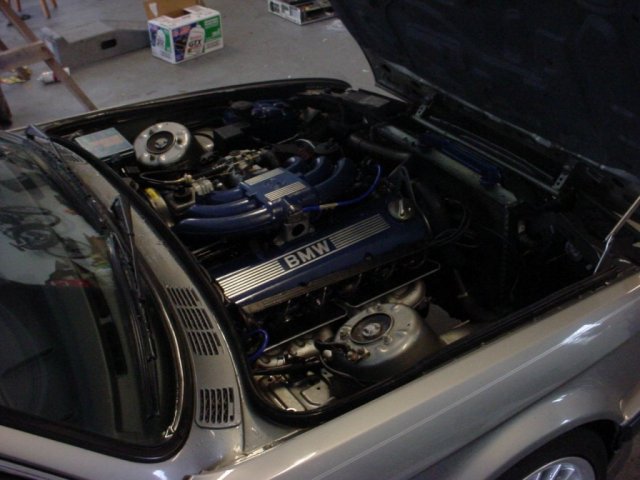
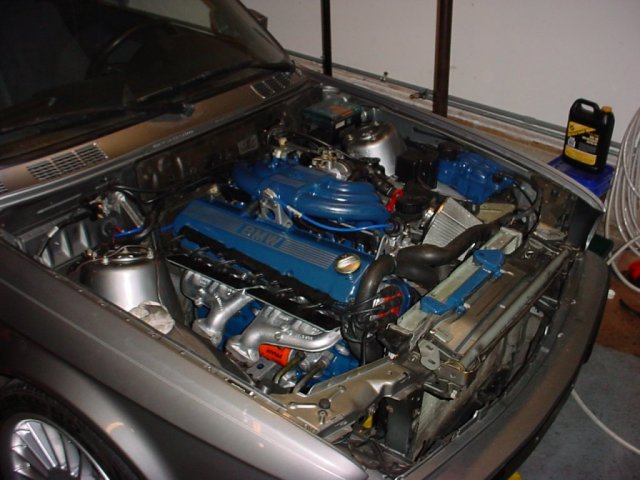
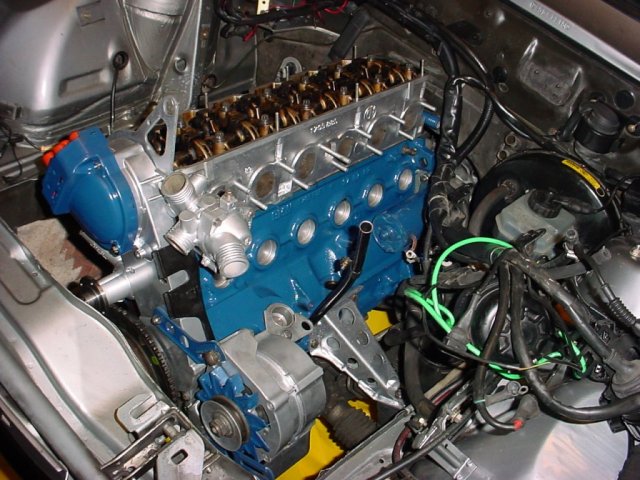
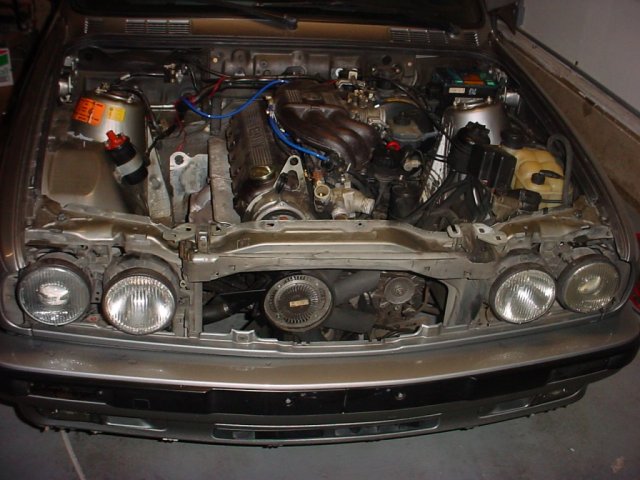
I finished wiring the engine, and connected the rest of the hoses. I also finished and installed the intake manifold.
» Day 39 -
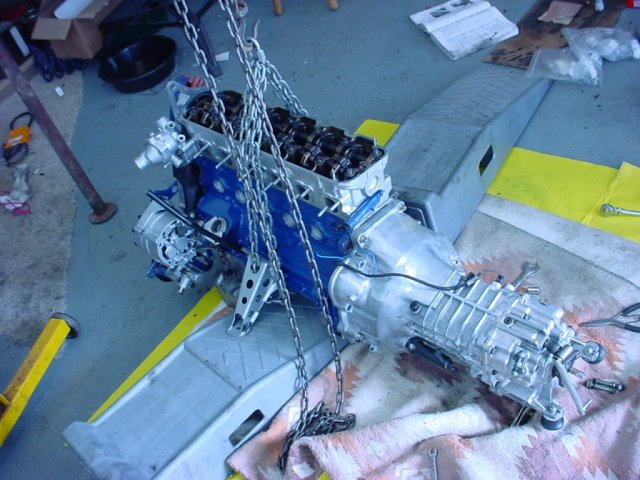
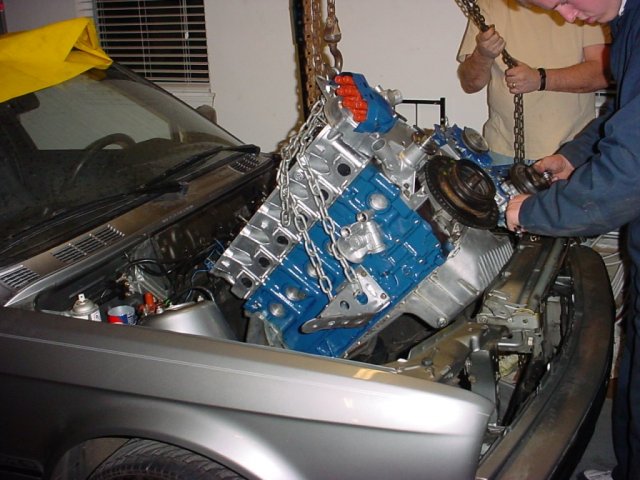
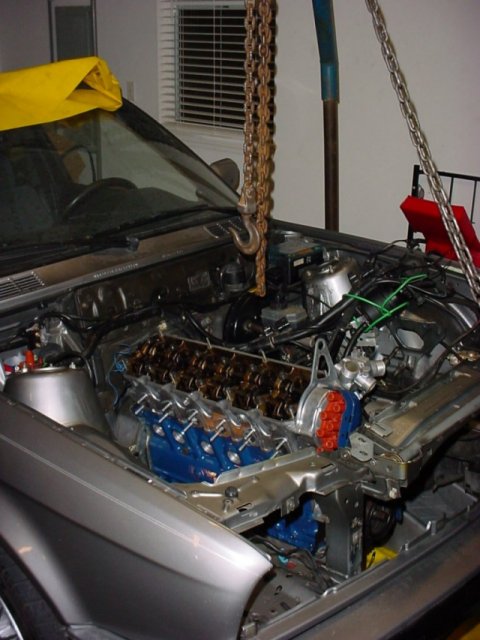
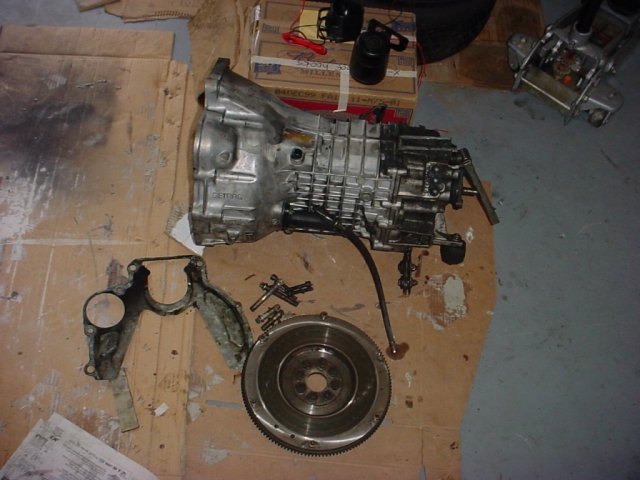
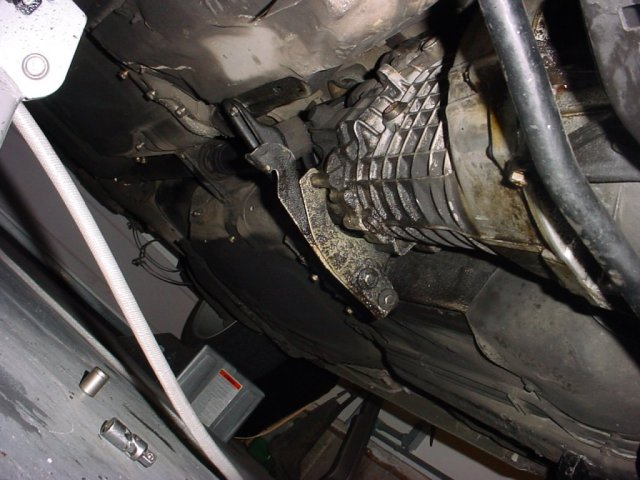
Today, I assembled the rest of the parts that would go in with the engine. I mounted the flywheel, and clutch assembly, as well as the transmission. After I assembled everything, I proceeded
to drop the engine in and mount it.
» Day 38 -
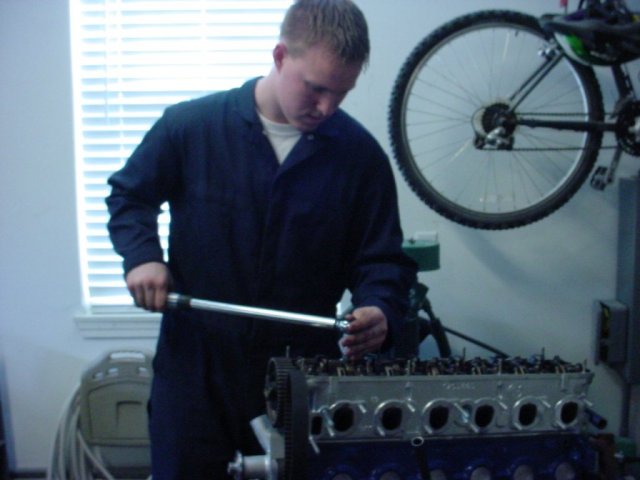
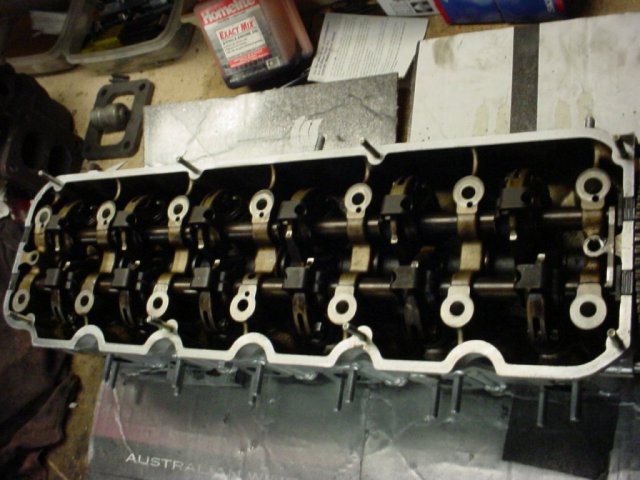
Today I put the head on the engine block. I very carefully torqued the head bolts, making sure the tightening pattern was correct. I also bolted on the oil pan and transmission shroud.
» Day 37 -
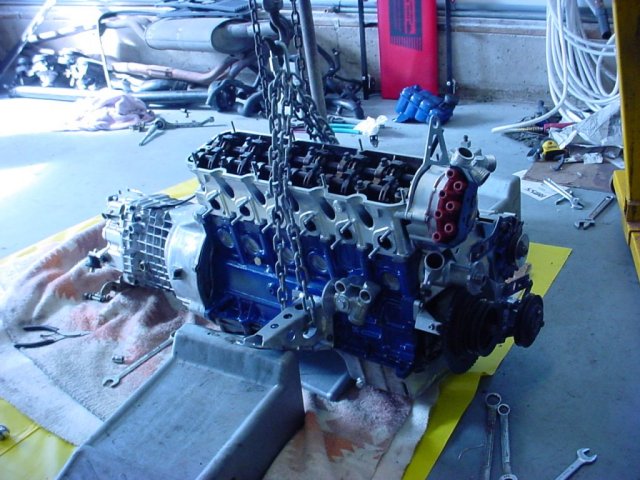
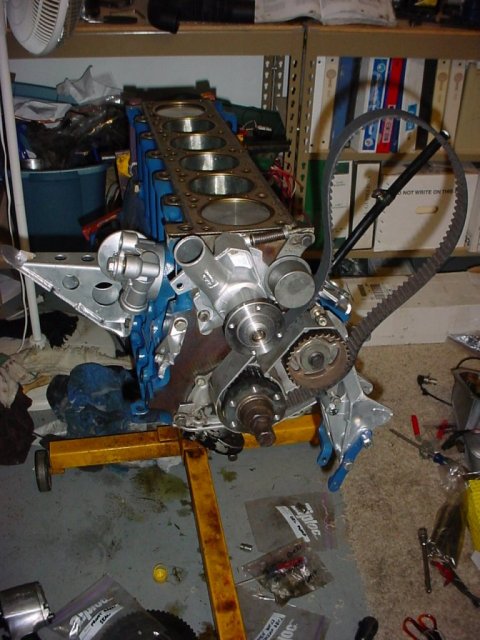
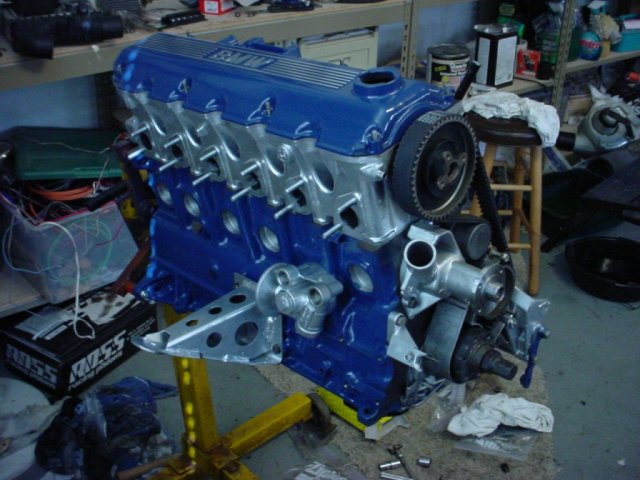
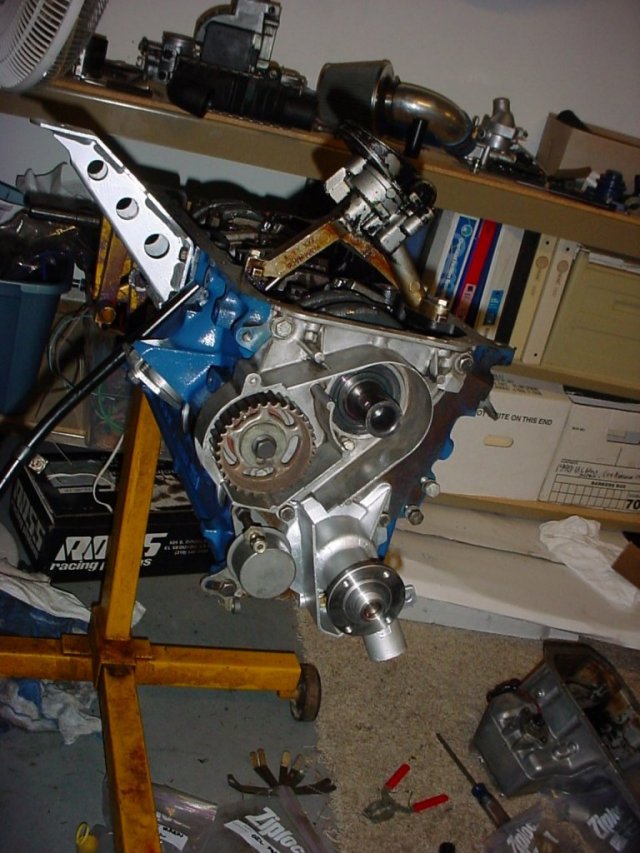
I installed various parts back onto the engine block. I installed the front main seal/intermediate shaft seal, engine mounts, water pump, timing belt tensioner, intermediate shaft pulley, and oil
pump. I also took the time and painted the cylinder head with hi-temp aluminum paint.
» Day 36 -
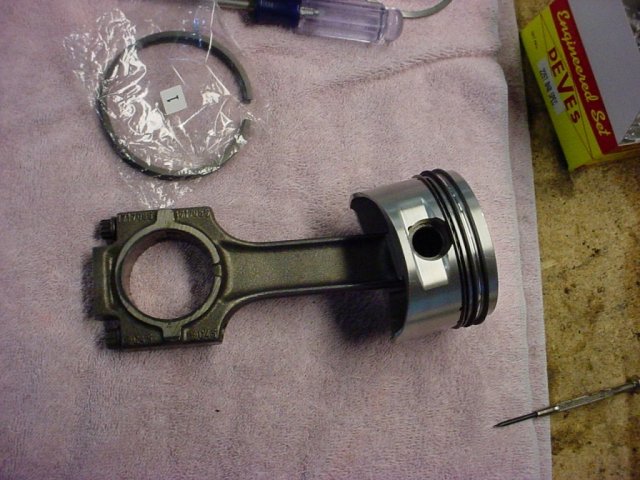
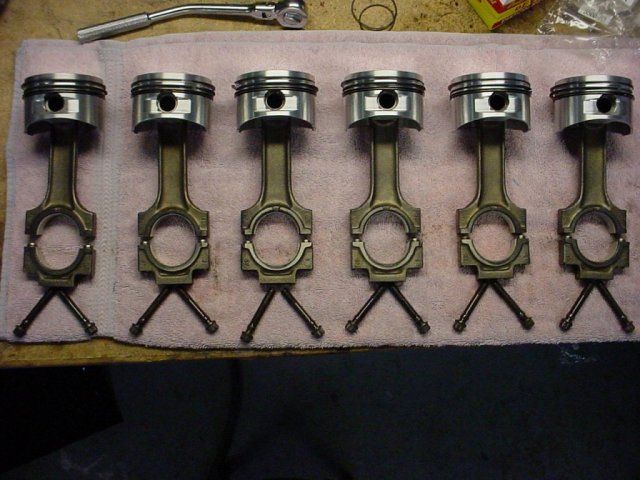
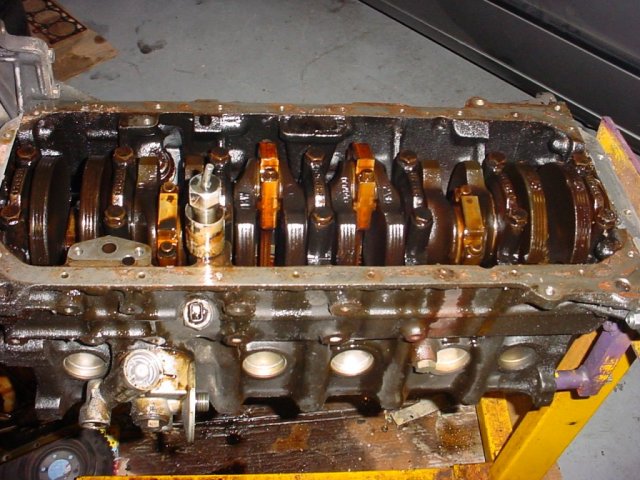
Installed the crankshaft into the block, as well as connected the rods to the crankshaft. I made sure all of the bearings were seated right as well.
» Day 35 -
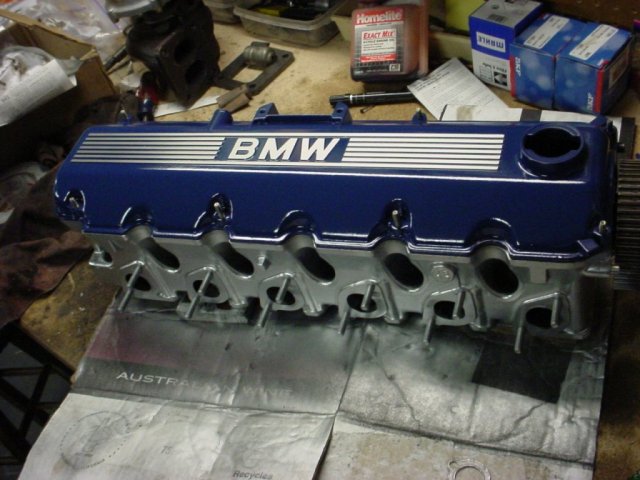
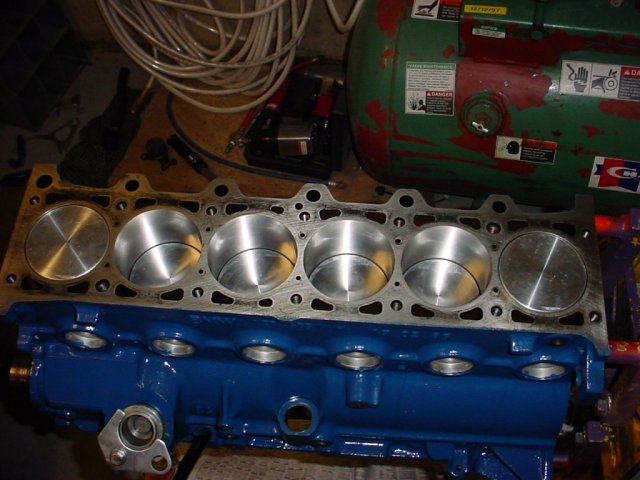
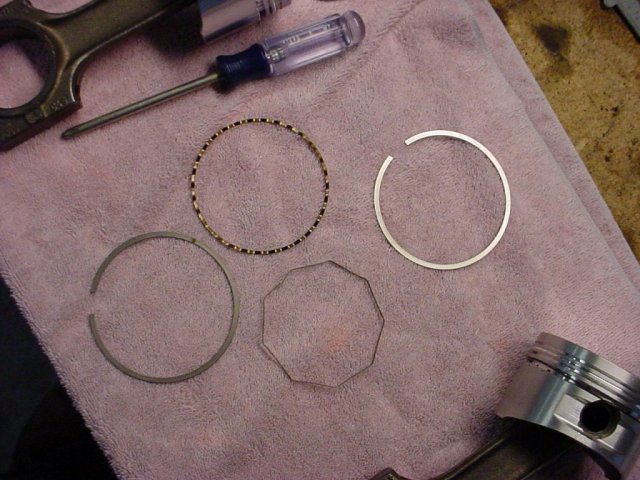
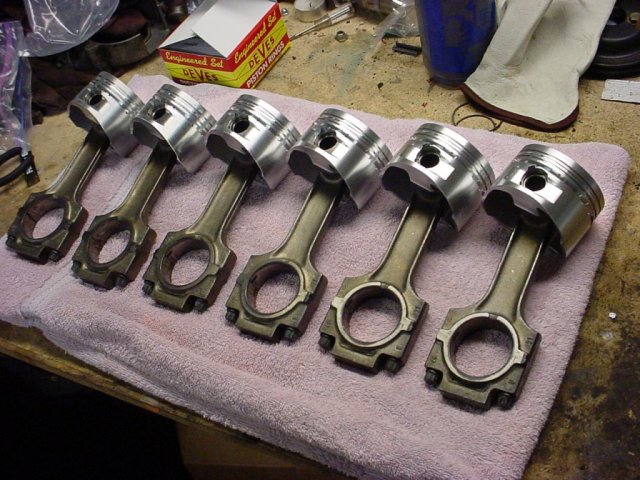
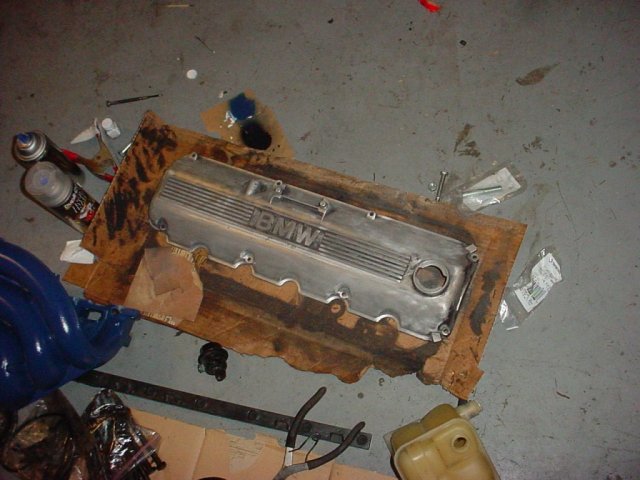
The new piston rings and main bearings arrived from Ireland Engineering. They had a problem with UPS, as the package was not shipped when they were supposed to be. I installed the rings and
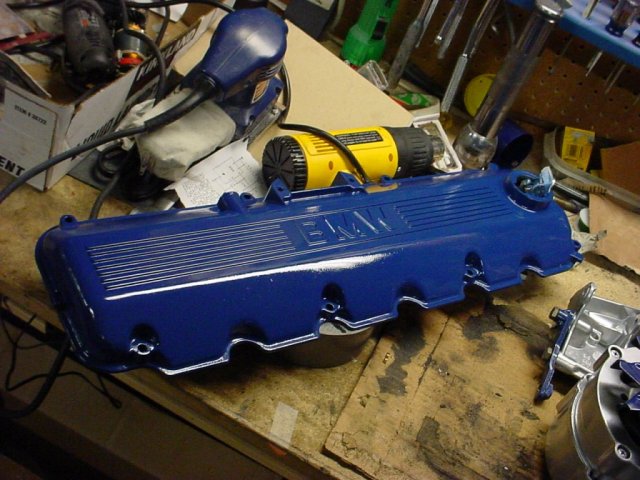
installed the pistons freely in the engine. I also finished the valve cover. I painted it, sanded the ridges, and clear coated the whole cover.
» Day 34 -
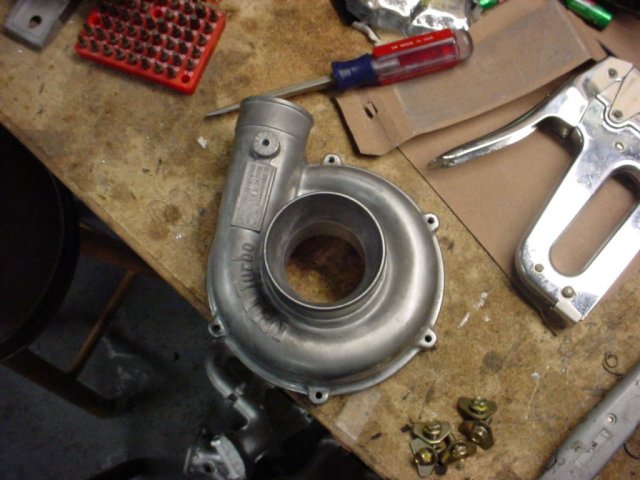
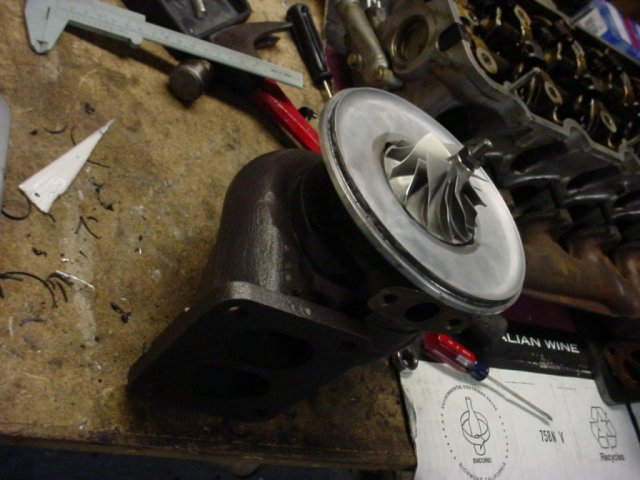
I inspected the turbocharger I am going to be using. Made sure it was clear of all debris, and the shaft spins freely.
» Day 28-33 -
Nothing.
» Day 27 -
Cleaned the engine bay more, also started to prepare the thermostat housing to be painted.
» Day 24-26 -
Nothing.
» Day 23 -
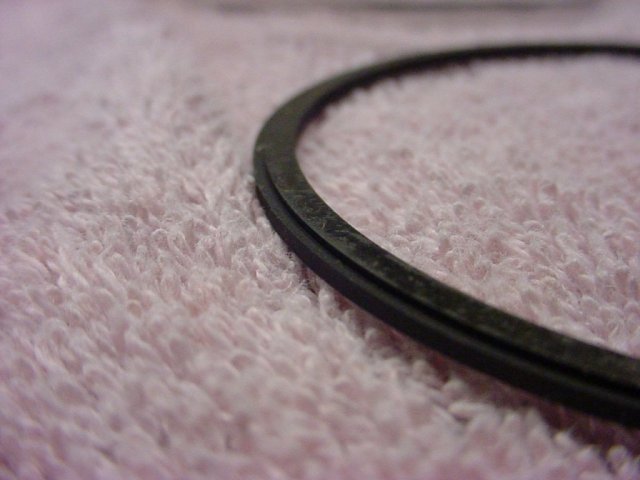
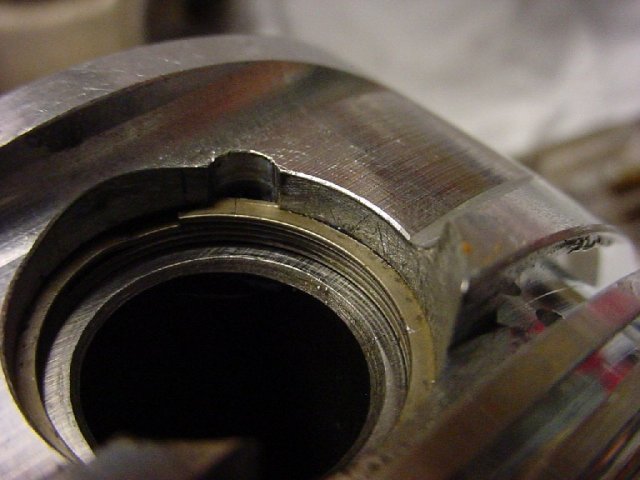
I called Ireland Engineering to talk about the piston ring situation. They told me that it would take a few days for them to order the rings from Deves, and they would call me later. I also
managed to tap out the piston that was seized. It turned out to be the oil control ring (bottom ring). The bottom part of the oil control ring (it is 4 pieces) skipped over the middle part,
and was up against the top part. This made the ring bow out enough to get it stuck in the cylinder. So now I’m just waiting for new rings and main bearings.
» Day 22 -
Today, I had a few unanticipated problems:
1. As I was about to put my main bearings in the caps, I realized Ireland Engineering had sent me the bearings for e30s before late 1987. So Jeremy at IE said they would overnight ship me new
bearings tomorrow. So that is cleared up...
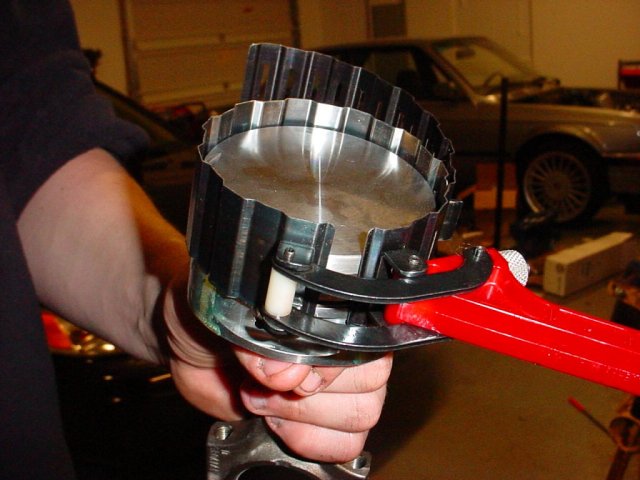
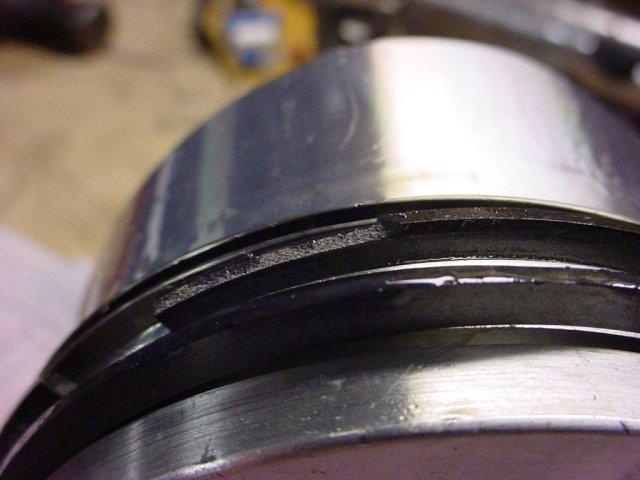
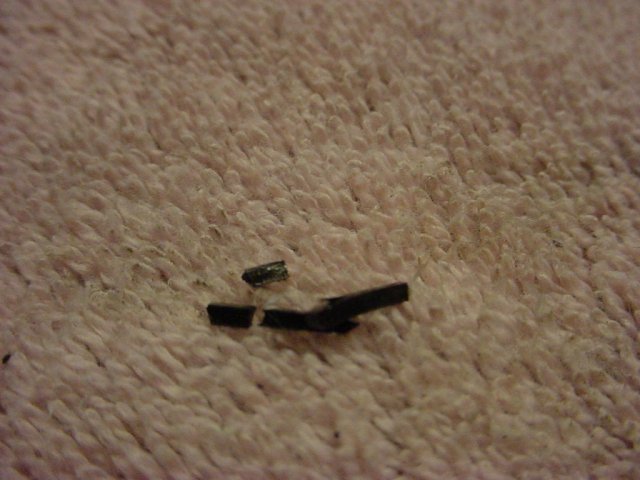
2. While tapping one of the pistons into the block, the middle ring broke. I don't exactly know how this happened, but it wouldn’t go in anymore, and when pulling it out, shards of ring came out
with it. There is no harm done to the block or piston. I had to take the top piston ring off to get the broken one, and when I expanded the ring, the ring wouldn’t come out of the slot. So I
expanded it a little more, and it broke. So I am going to call IE tomorrow morning and have them order a few new rings as well.
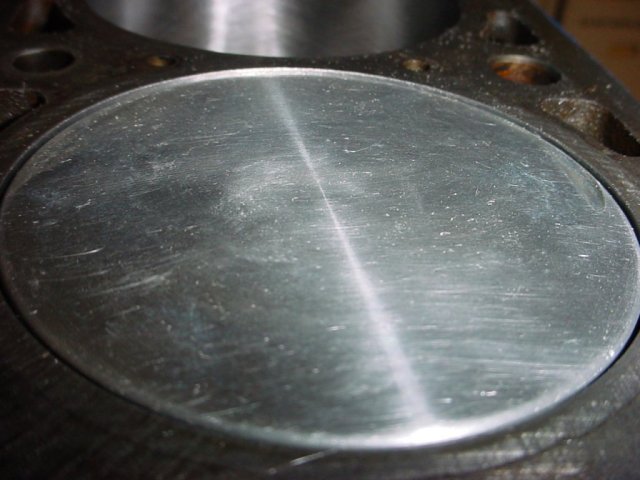
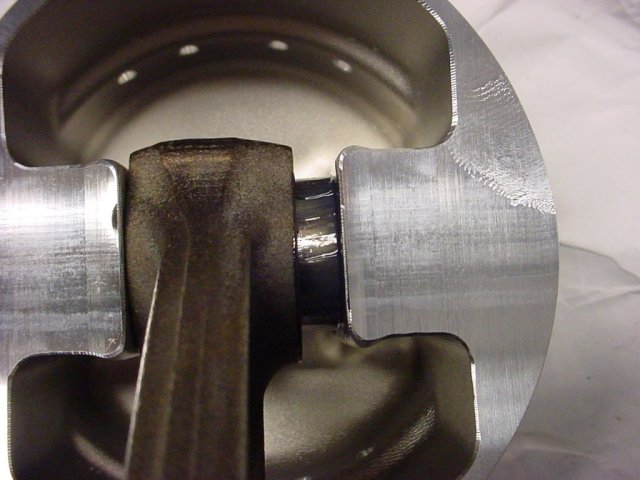
3. This is the worst part. I wanted to test to see if the pistons were the right size, considering I have "i" rods, with a stroker crank (when going this route, you must specify to have shorter
pistons made, or buy 'e' rods). So I turn the connecting rods from the bottom of the engine to line them up with the crankshaft, and one of the pistons wouldn't turn. I tried more, and still no
go. I dripped some WD-40 into the cylinder, and will let that absorb overnight.
» Day 21 -
Nothing.
» Day 20 -
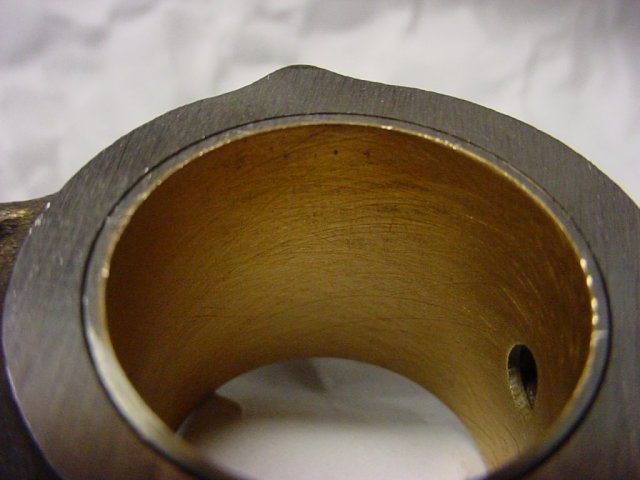
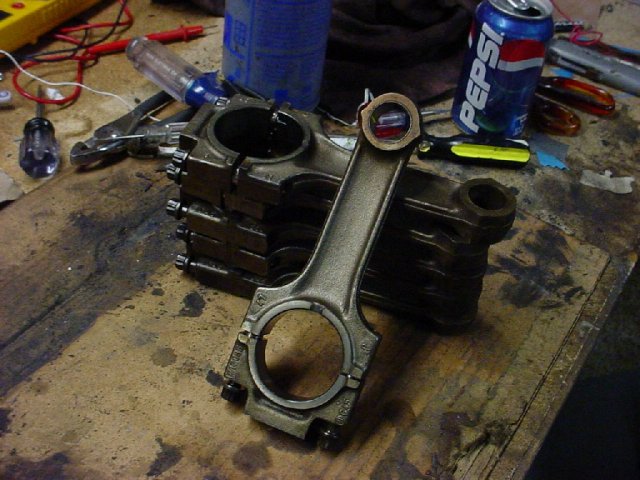
I took the connecting rods to a machine shop to take the old bushings out, and press/hone the new bushings. This process cost $95 but was necessary.
» Day 17-19 -
Nothing.
» Day 16 -
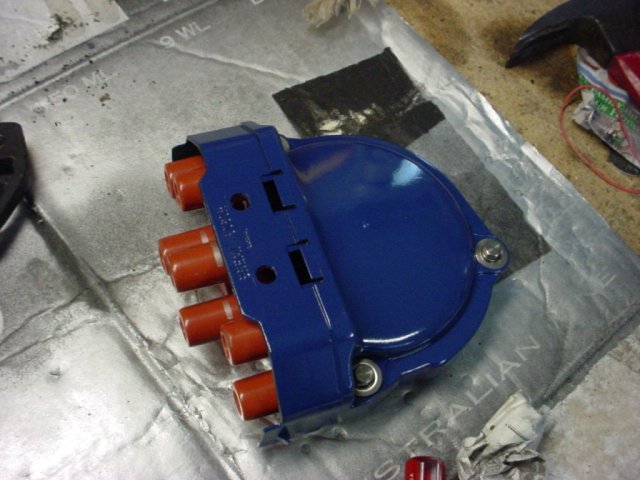
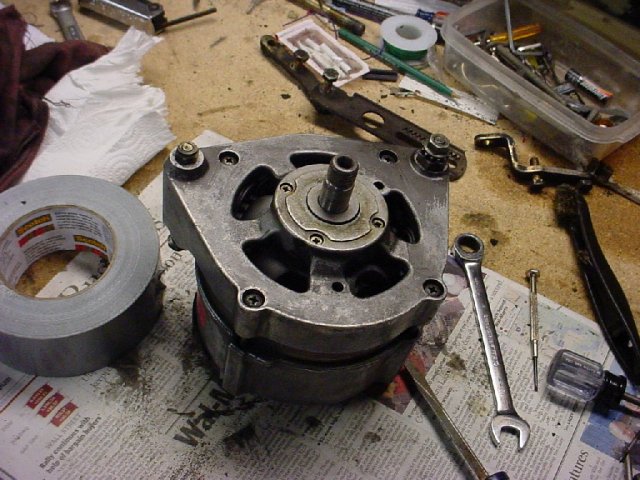
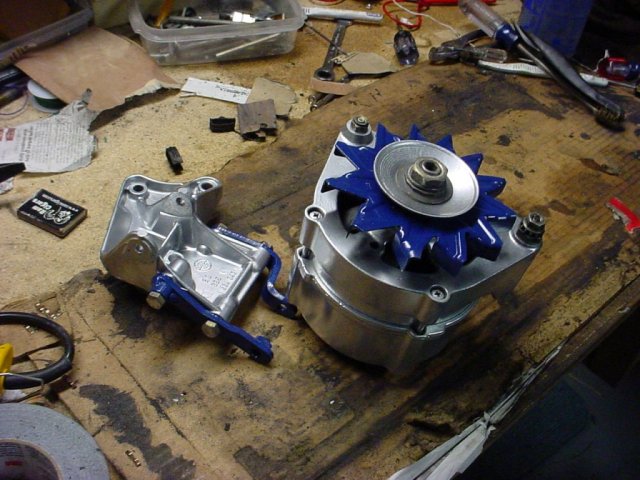
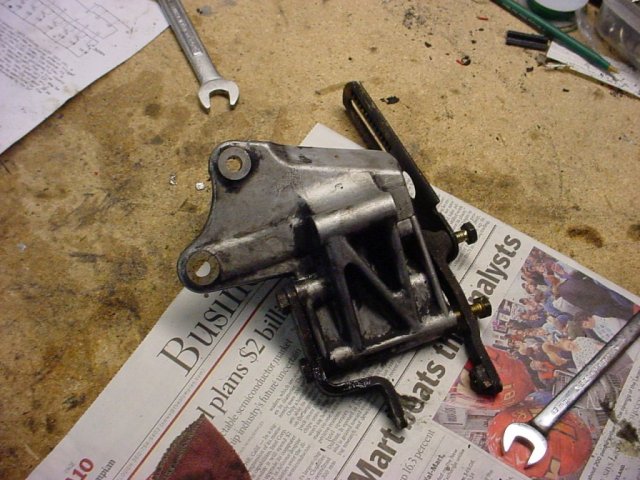
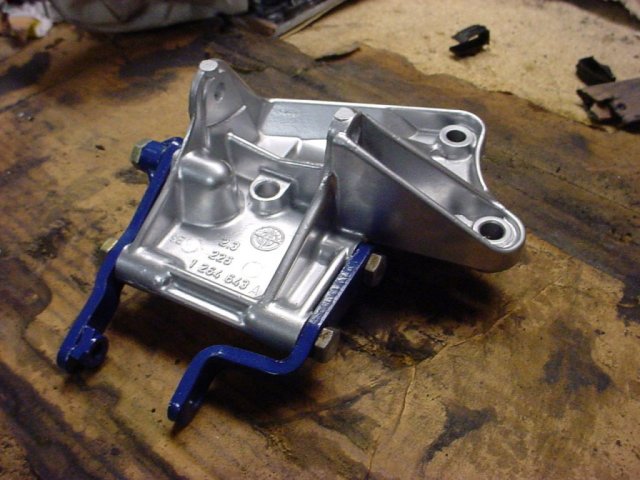
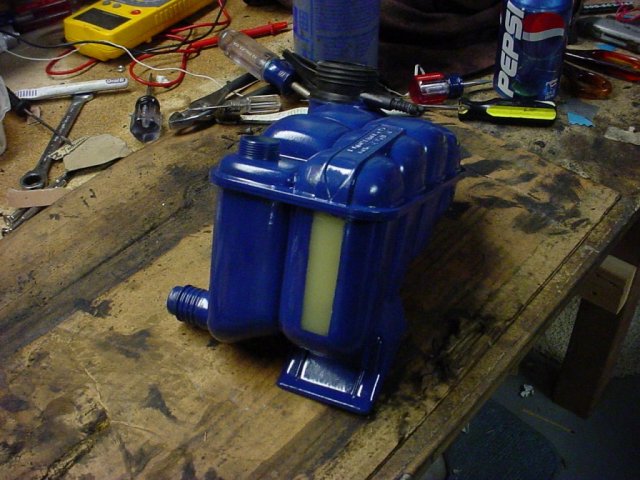
Painted more random parts, including the valve cover, timing belt covers, alternator/mounts, engine mounts, and the coolant reservoir.
» Day 15 -
Today I cleaned and took the bearings out of the rods, I was going to put the pistons back into the engine, but figured out I needed new rod bushings, so I ordered those with overnight delivery,
so they should be here Friday.
» Day 14 -
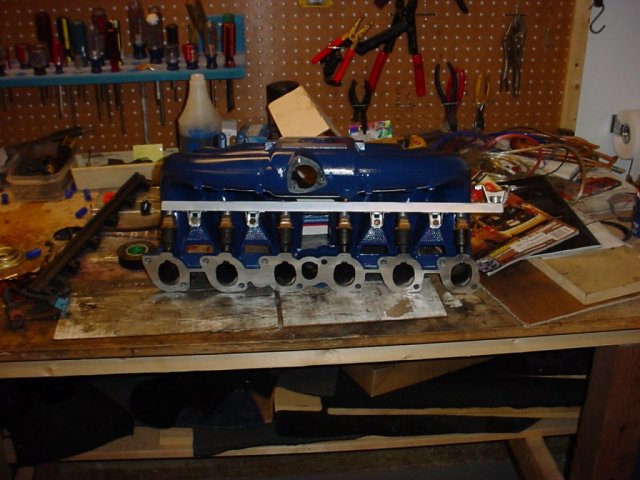
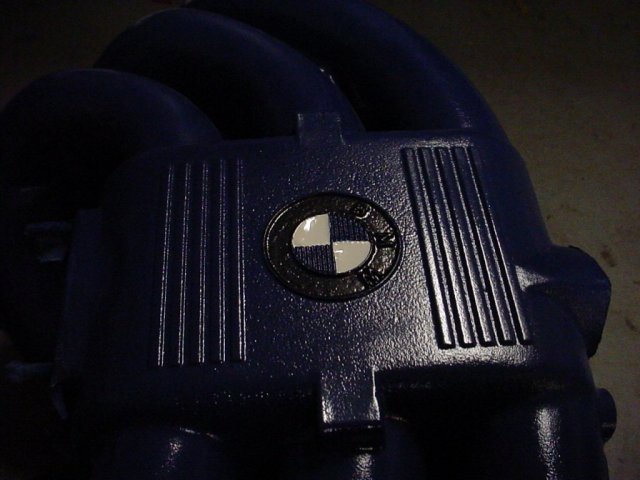
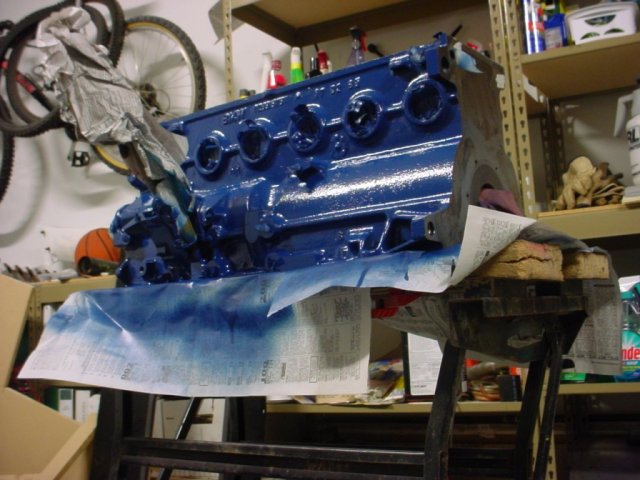
I de-ringed my stock pistons, and cleaned them a little bit. I also painted my intake manifold dark blue, and painted the roundel on the top. I will also sand and polish the ridges of the
roundel and on the top of the manifold.
» Day 13 -
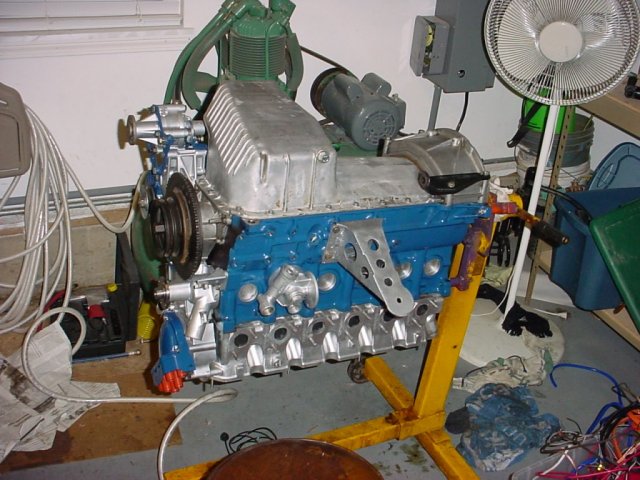
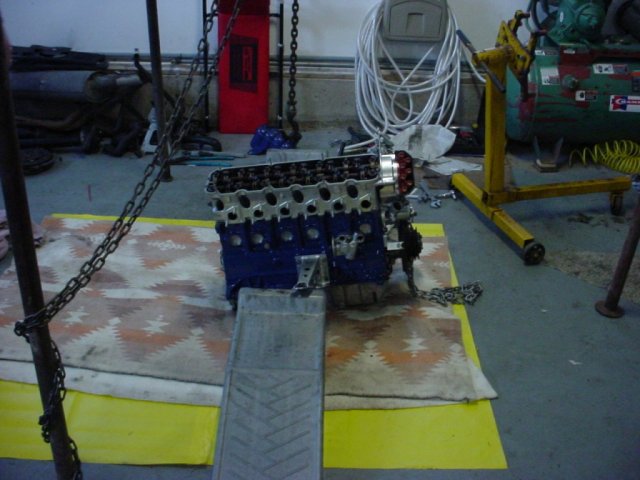
I painted the engine block dark blue, and started cleaning the valve cover to be painted the same color as the block.
» Day 11 & 12 -
Away.
» Day 10 -
I had to leave for the weekend and got nothing done, however my dad picked up the block and pistons from the machine shop.
» Day 9 -
Nothing done today.
» Day 8 -
I cleaned more small parts including nuts and bolts.
» Day 7 -
I dropped off the main bearing end caps and the engine should be done by the end of the week. The total cost before tax for boring and honing is $72.00.
» Day 6 -
I unbolted the oil pan, front and rear crankshaft seals, disconnected the main bearing caps, and rods. Be aware, the bolt holding the harmonic balancer to the crankshaft is around 320 ft/lbs,
there are a few ways to unbolt it. I chose to use an impact wrench (500 ft/lbs) to get the job done. I then removed the crankshaft and the 6 pistons and rods. I also cleaned up the engine, and
drove down to a quality machine shop for the engine to be bored. However they cannot start boring until they have the main bearing caps, because that is where the hone mounts. So tomorrow I will
get those to them.
» Day 5 -
Did not have too much time today, but managed to connect the engine stand entirely to the block. I could only attach 3 of the engine stand legs to the block, the 4th was too long, and would not
line up to the mounting hole.
» Day 4 -
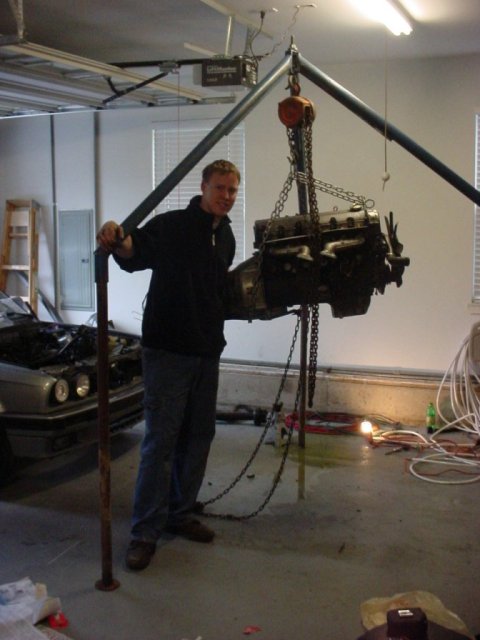
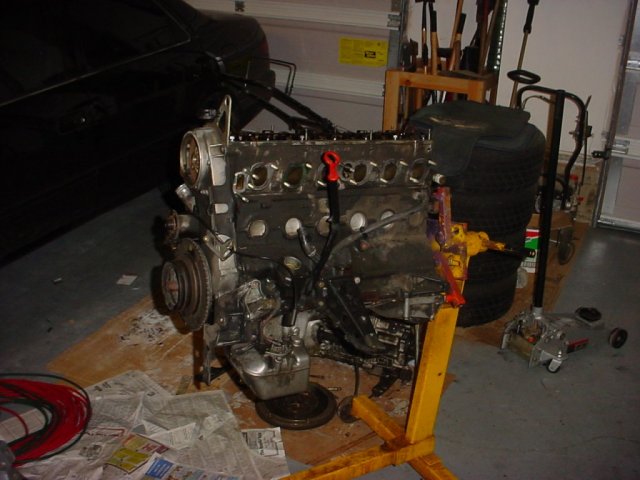
I pulled the engine in the morning, it took about 10 minutes, and it was out completely. I disconnected the transmission, clutch, and flywheel. I also borrowed an engine stand, a piston ring
spreader, and a piston ring compressor from my uncle. I put the engine on the stand, and removed the head. I would have unbolted the oil pan, but forgot that the plate that connects to the bell
housing on the transmission is connected to the oil pan as well, so I have to wait until tomorrow to buy new bolts to connect the engine stand to the block.
» Day 3 -
I picked up the engine hoist, and tripod from my uncles shop, and set up the tripod as well. I would have pulled the engine, but did not buy chain before home depot closed, so I will wait until
tomorrow morning to remove the engine. So instead, I cleaned some of the parts I removed, and also started cleaning under the engine bay, my goal by the end of this project is to have a completely
clean engine, which includes removing cosmoline.
» Day 2 -
I received the pistons from Ireland Engineering, which finalized the starting of my project. I removed the driveshaft, and shifter linkages.
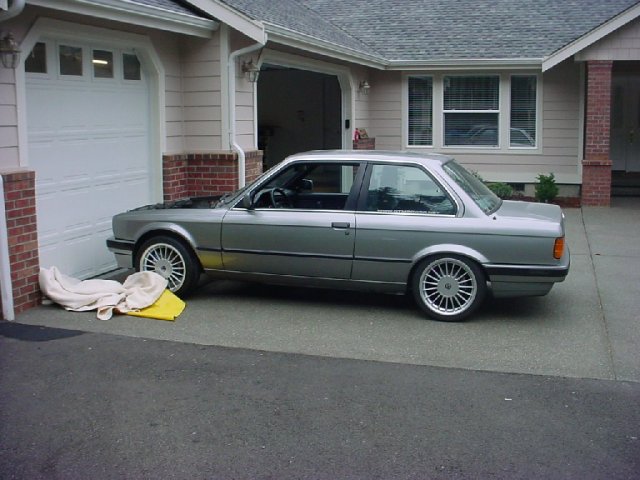
» Day 1 (Wednesday, February 5th, 2003) -
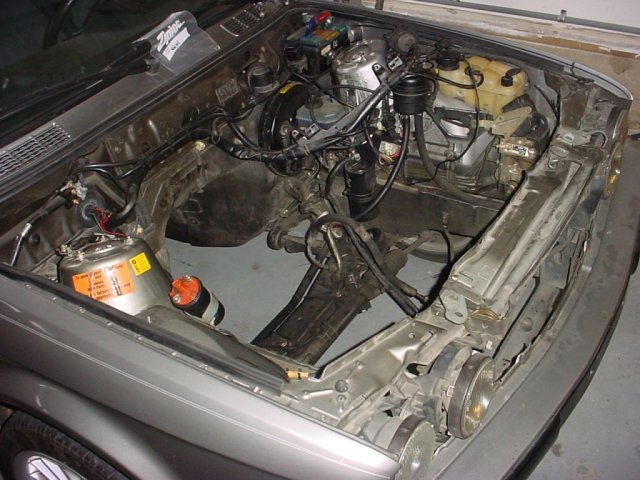
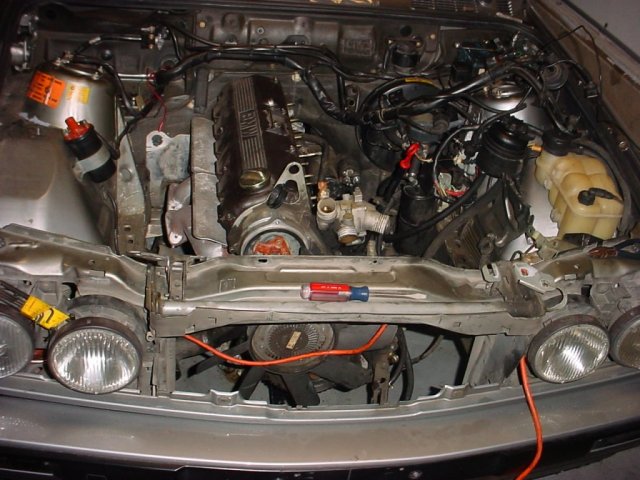
Today, I spent prepping the car for engine removal. With the help of a friend, we took off the hood, disconnected the distributor cap, spark plug wires, exhaust system, and random wires and hoses.
I also went ahead and removed the intake manifold, alternator, and power steering pump. I disconnected the wiring harness, all coolant hoses, and everything else connecting the engine to the
chassis.
-Matt Kosonen (1989 325i)